

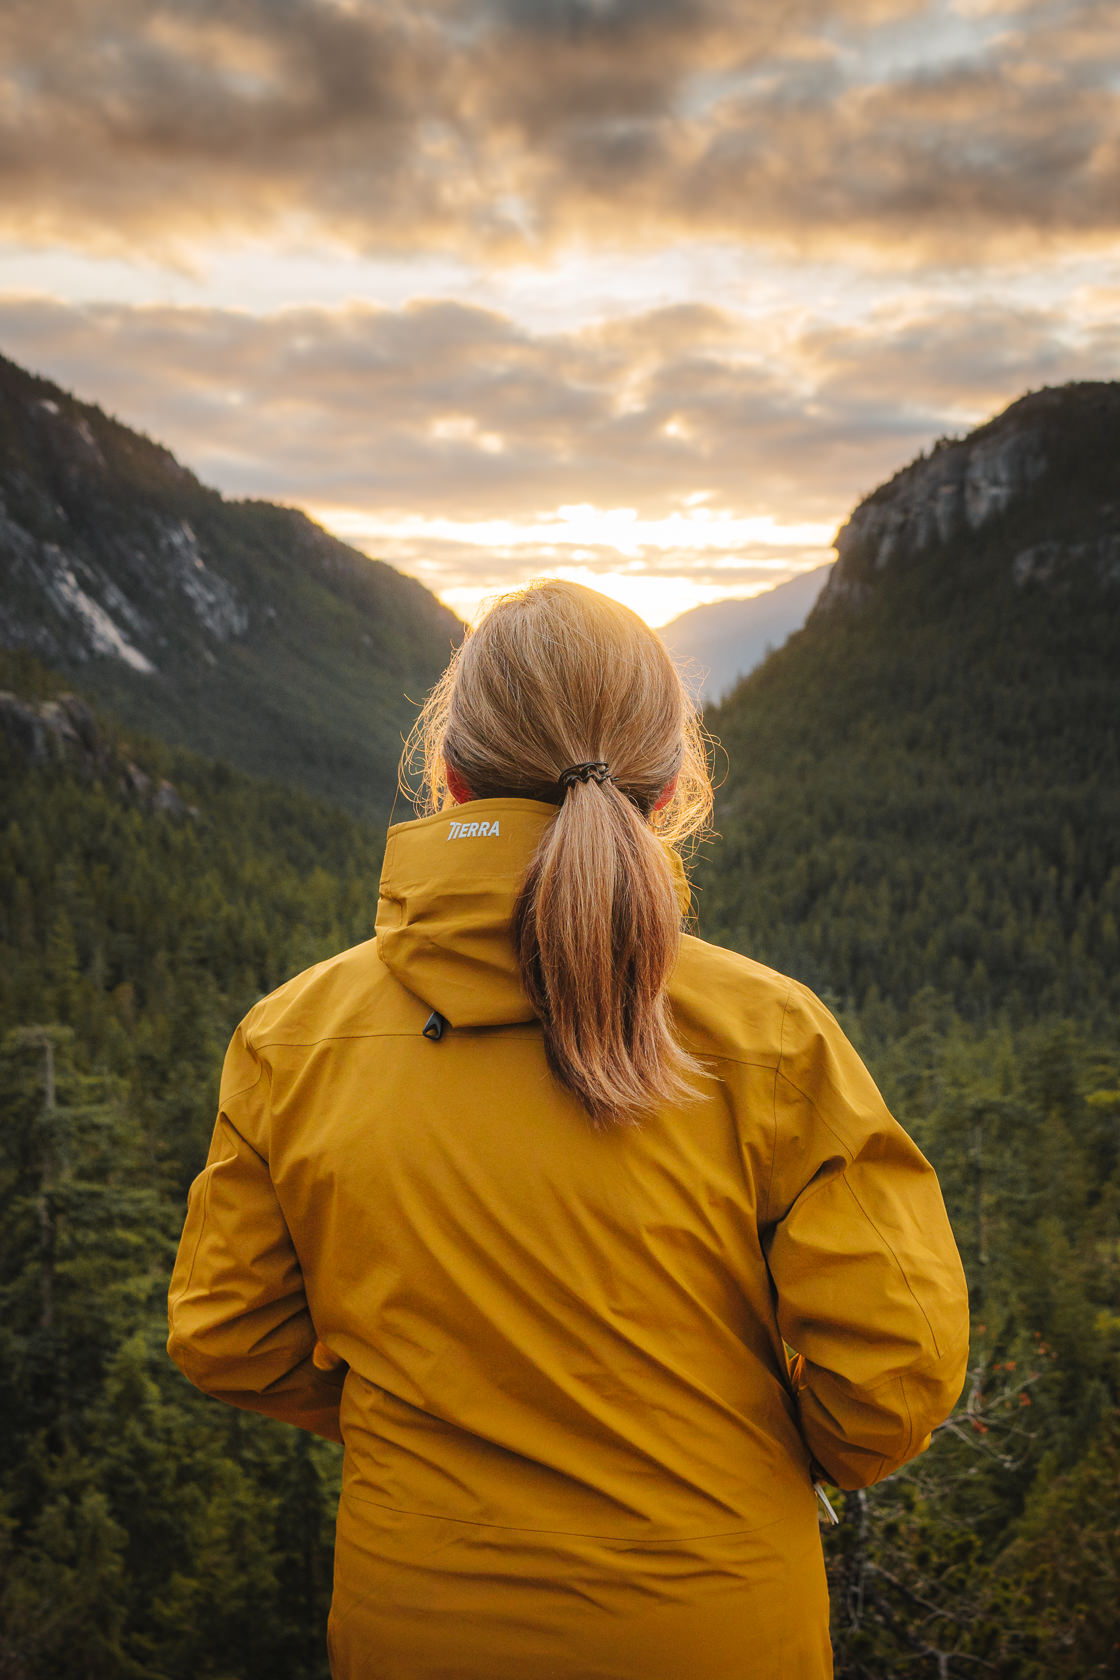
Squamish, just an hour from Vancouver, is heaven for outdoor enthusiasts with countless hiking trails nearby. One such trail is the Slhanay Peak in Stawamus Chief Provincial Park. It’s a well-known classic if you’re a local, but definitely a hidden gem if you’re not. The trail may be steep, but it’s easy to access, relatively short, and will take you to three beautiful viewpoints, each completely different.

Planning Considerations For The Slhanay Peak Trail
Distance: around 7 km round trip
Difficulty: Moderate
Elevation gain: 683m
Surface: rocks, roots and dirt
Best time to hike: spring, summer and fall
Pure moving time: 4h (moderate pace)
Permits: n/a
Dogs: yes, but the trail is steep and may not be suitable for all breeds
Mountain bikes: No
Getting To Slhanay Peak Trailhead in Squamish
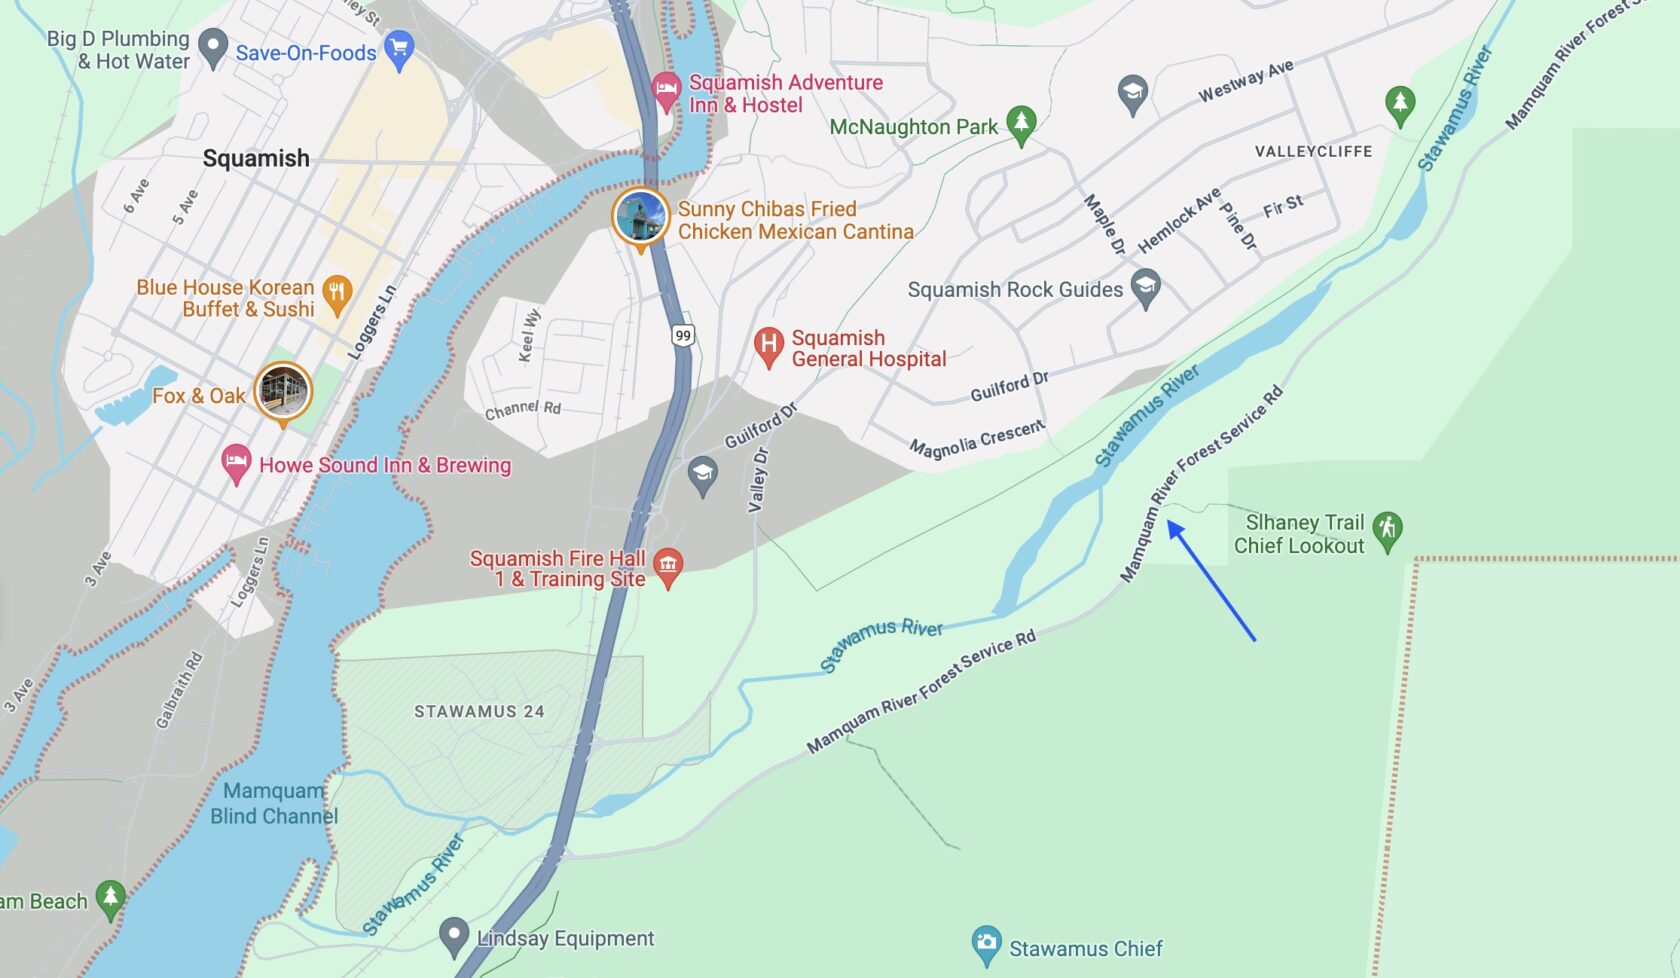
The trailhead is easy to get to, but it’s also easy to miss. It’s located on a random section of the Mamquam River Forest Service Road (FSR), about 1.7 kilometers from the Sea to Sky Highway. The road is in good condition and mostly gravel, so it’s suitable for all vehicles, including EVOs. The car park is quite small, but if you arrive early, you should have no problem finding a space.
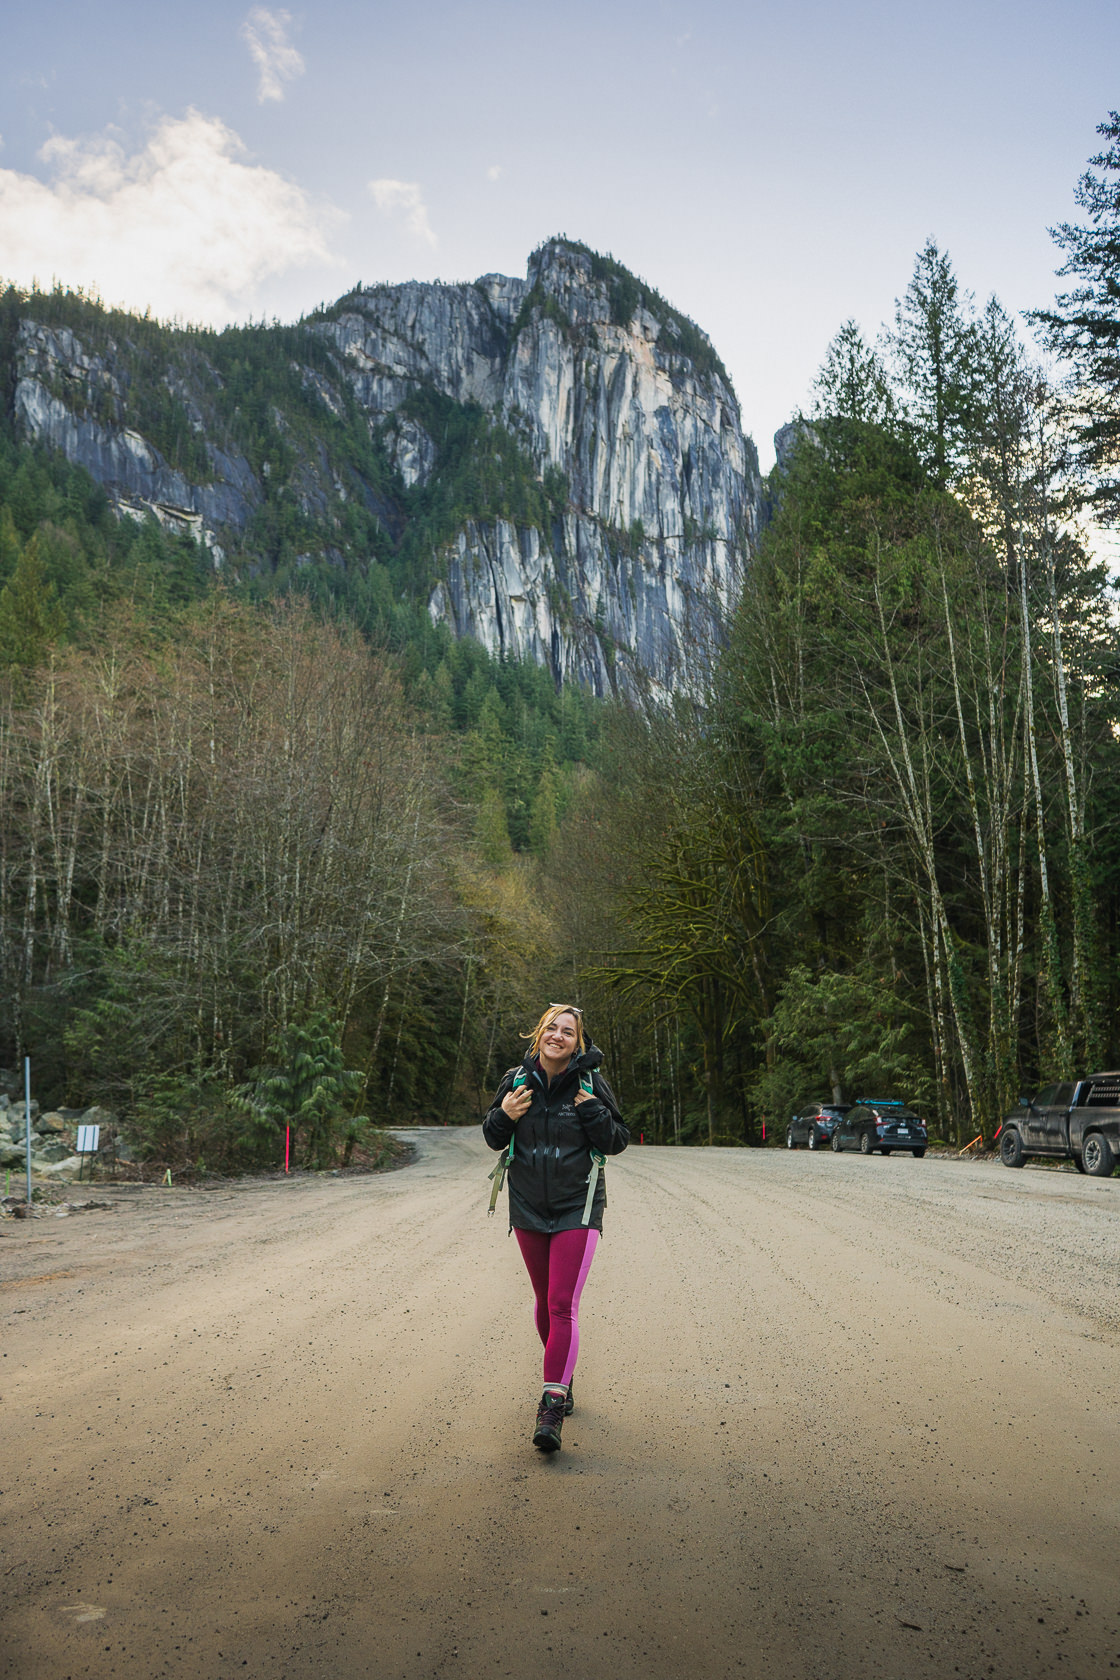
Slhanay Peak Trail Overview
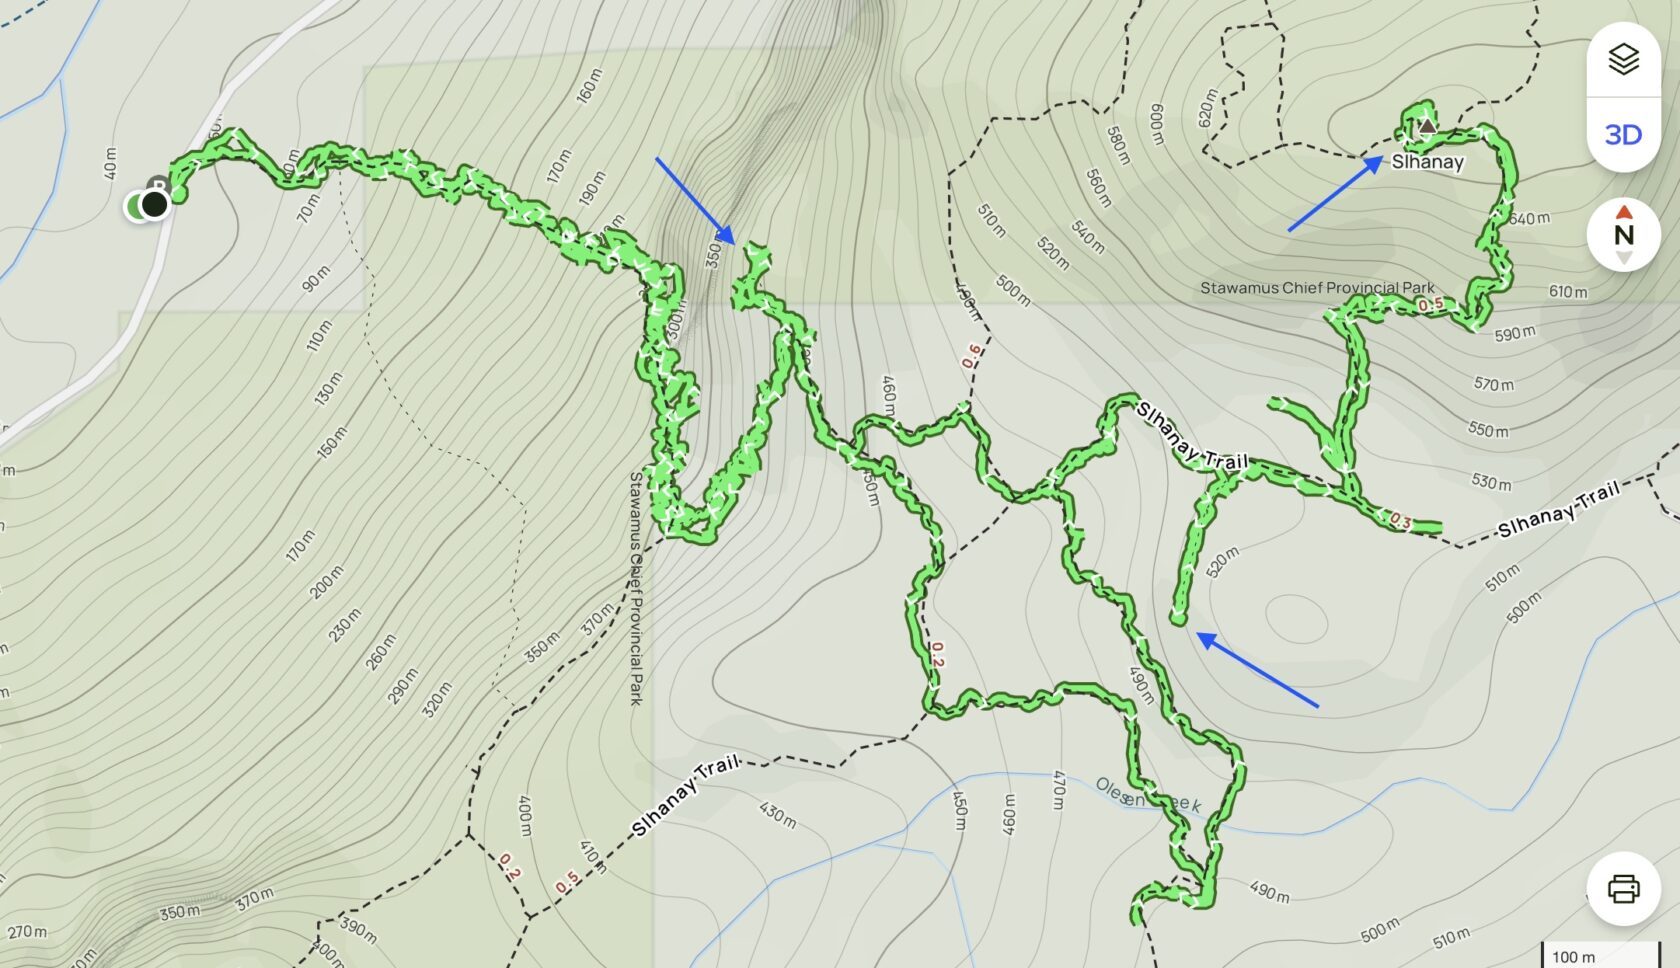
This hike, while short at 6.1 km according to AllTrails, ended up being over 10 km for us. This is partly because we went the wrong way a couple of times, and partly because the viewpoints are incorrectly marked on AllTrails (more on that later).
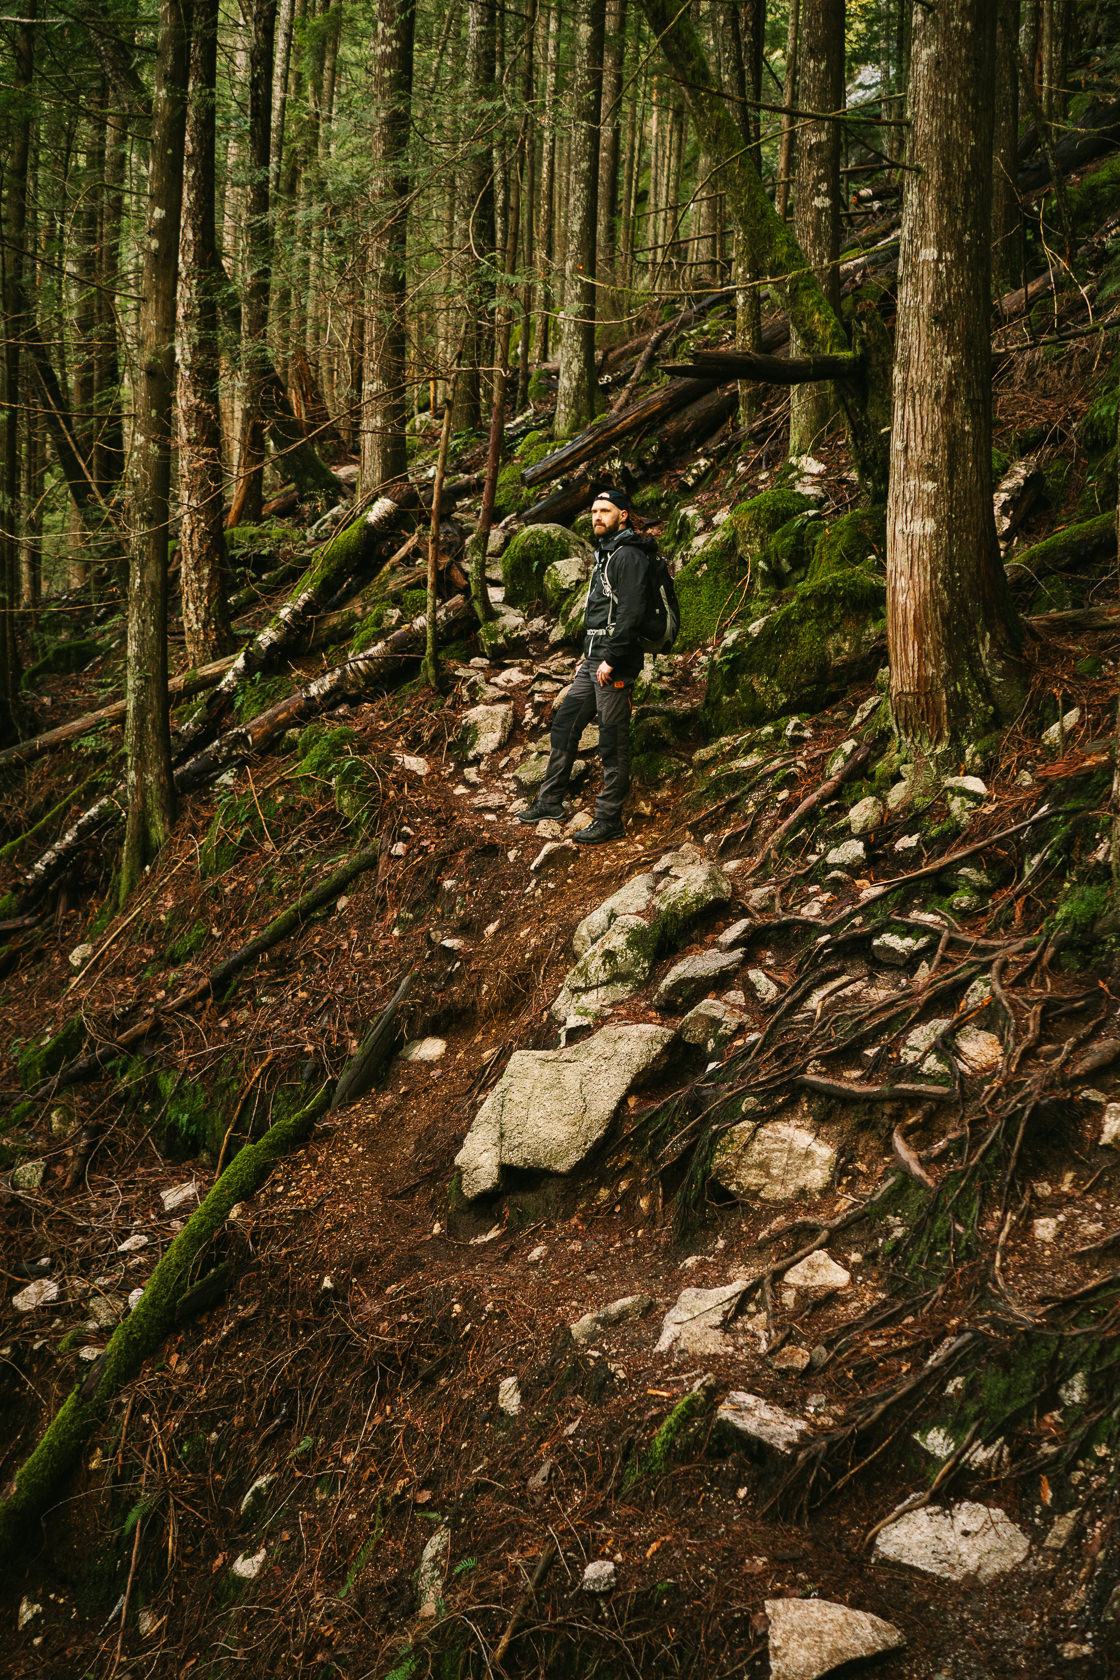
Even though this is a short hike, don’t underestimate it. The first section is very steep and physically demanding. It flattens out near the first viewpoint, but the final push to the summit is steep again if you follow the out-and-back route instead of the longer loop.
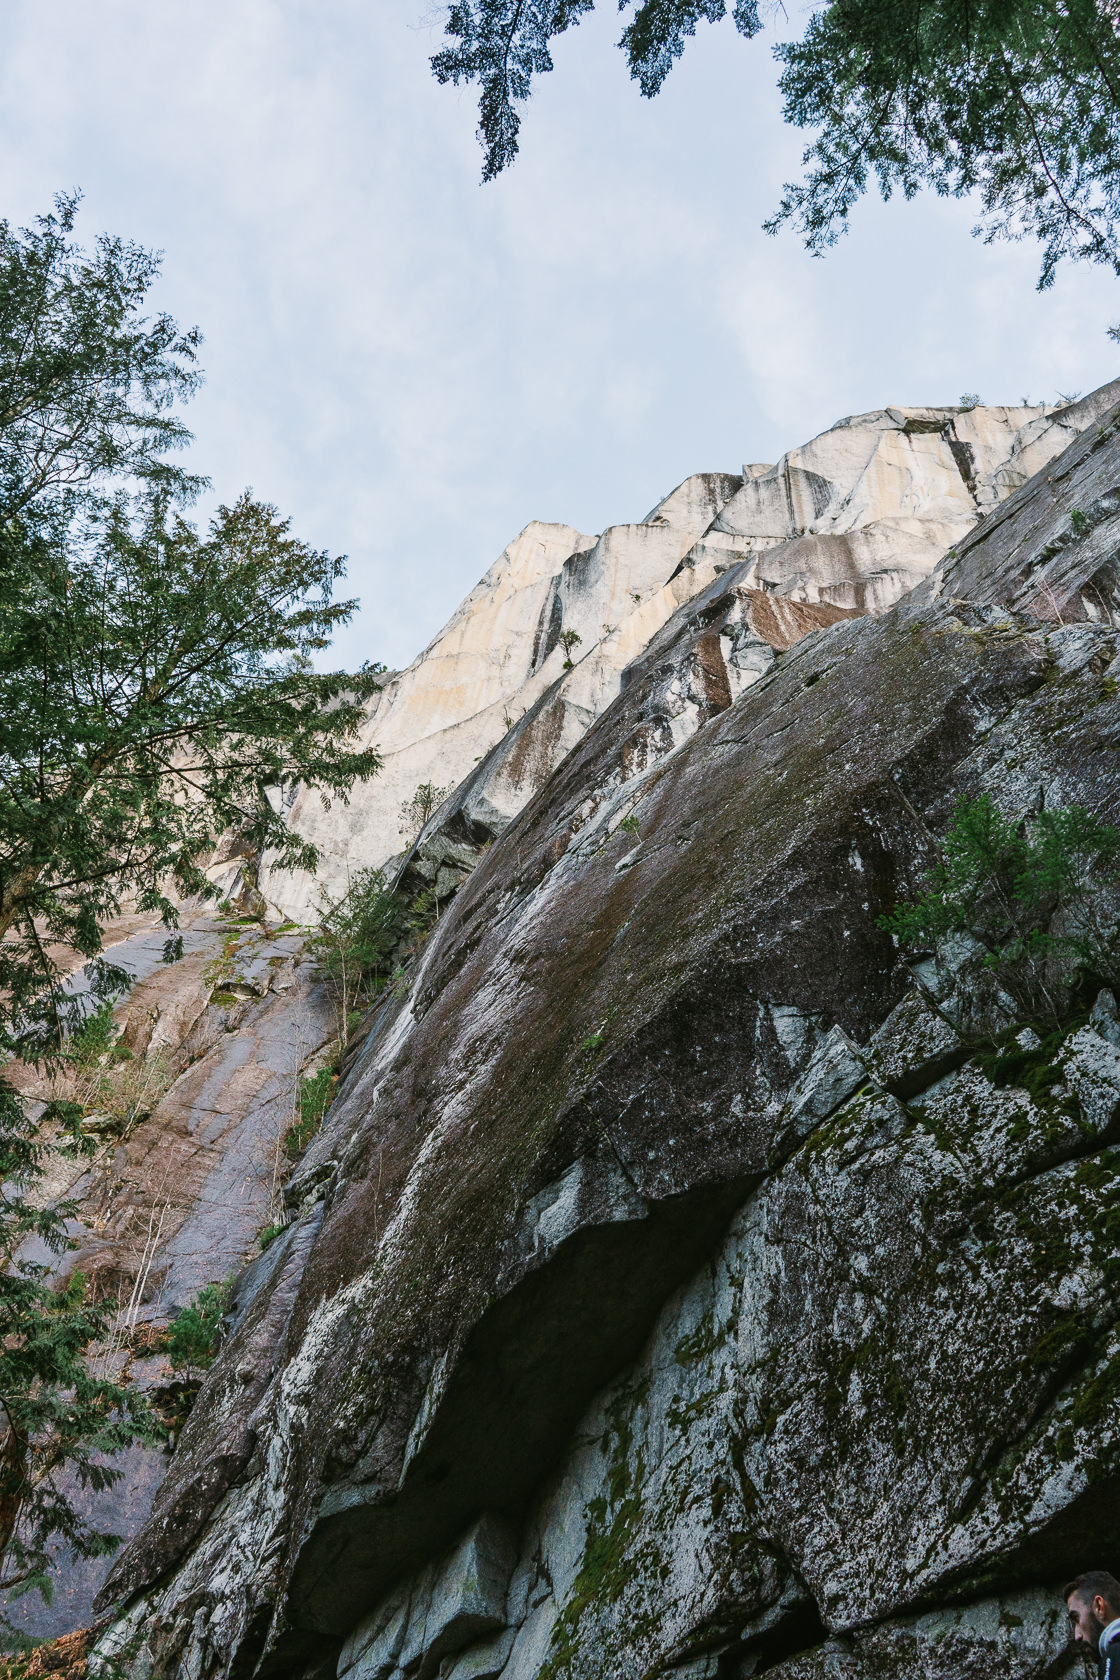
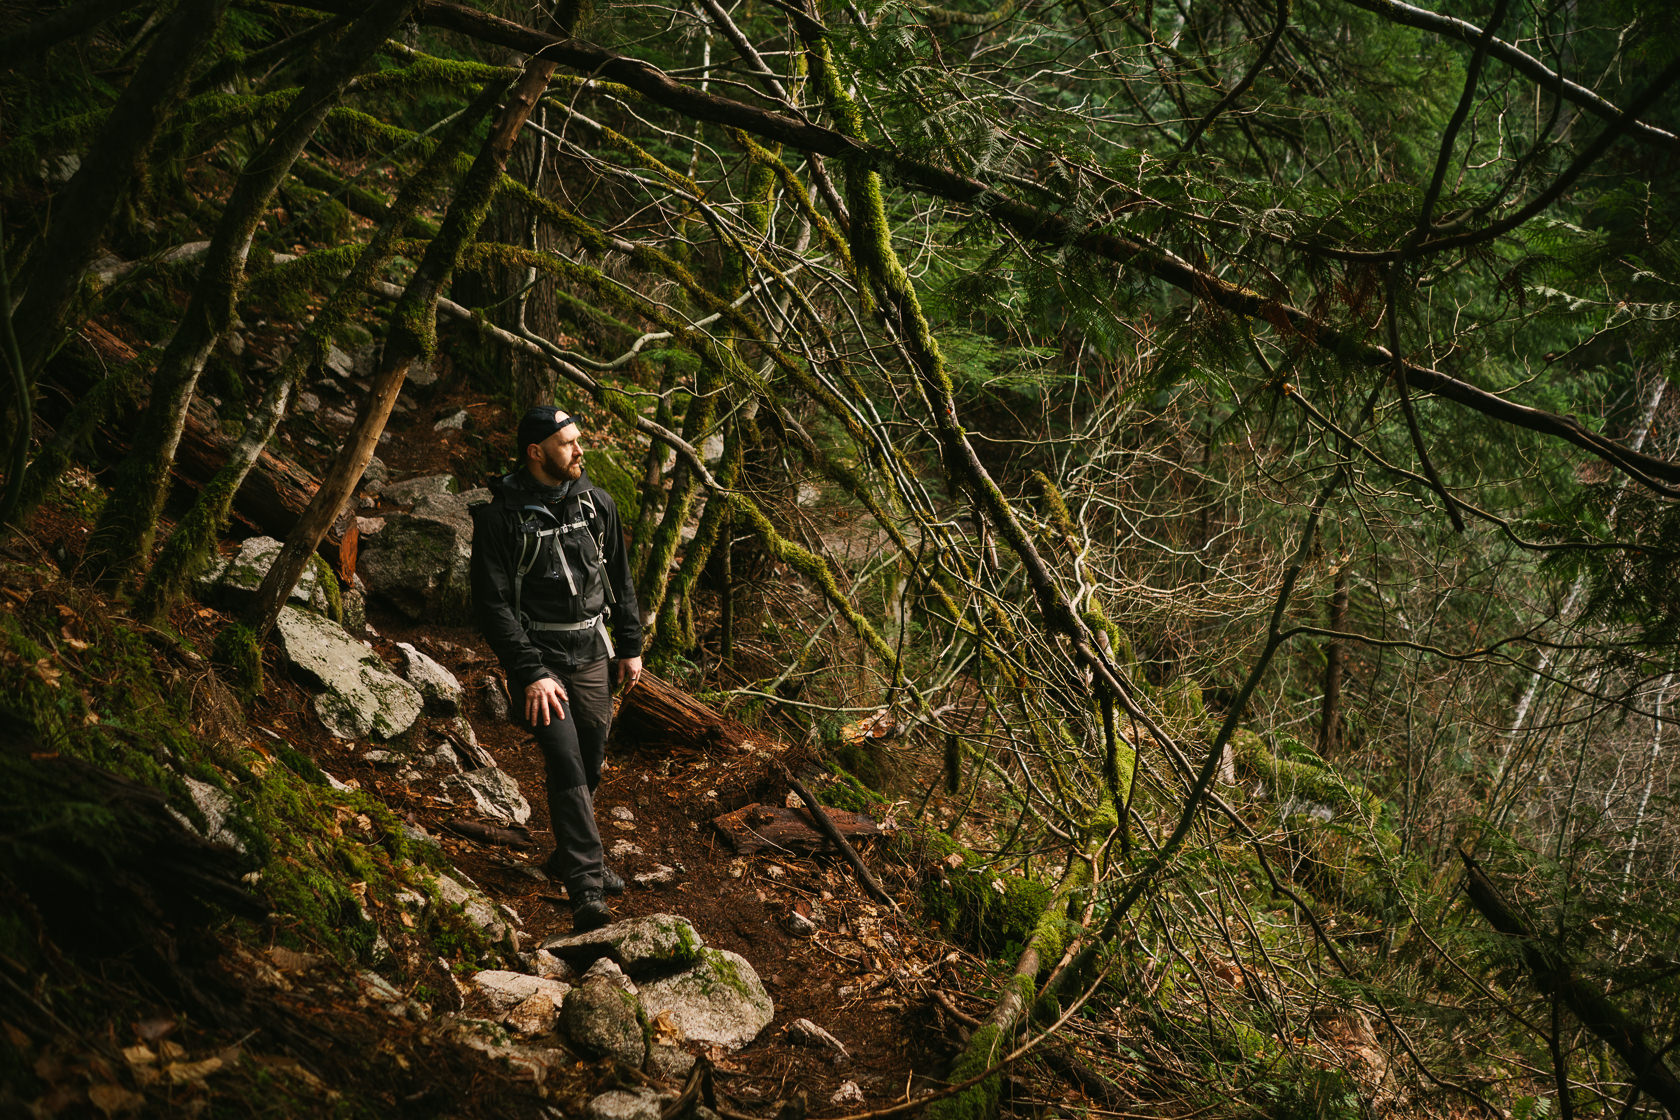
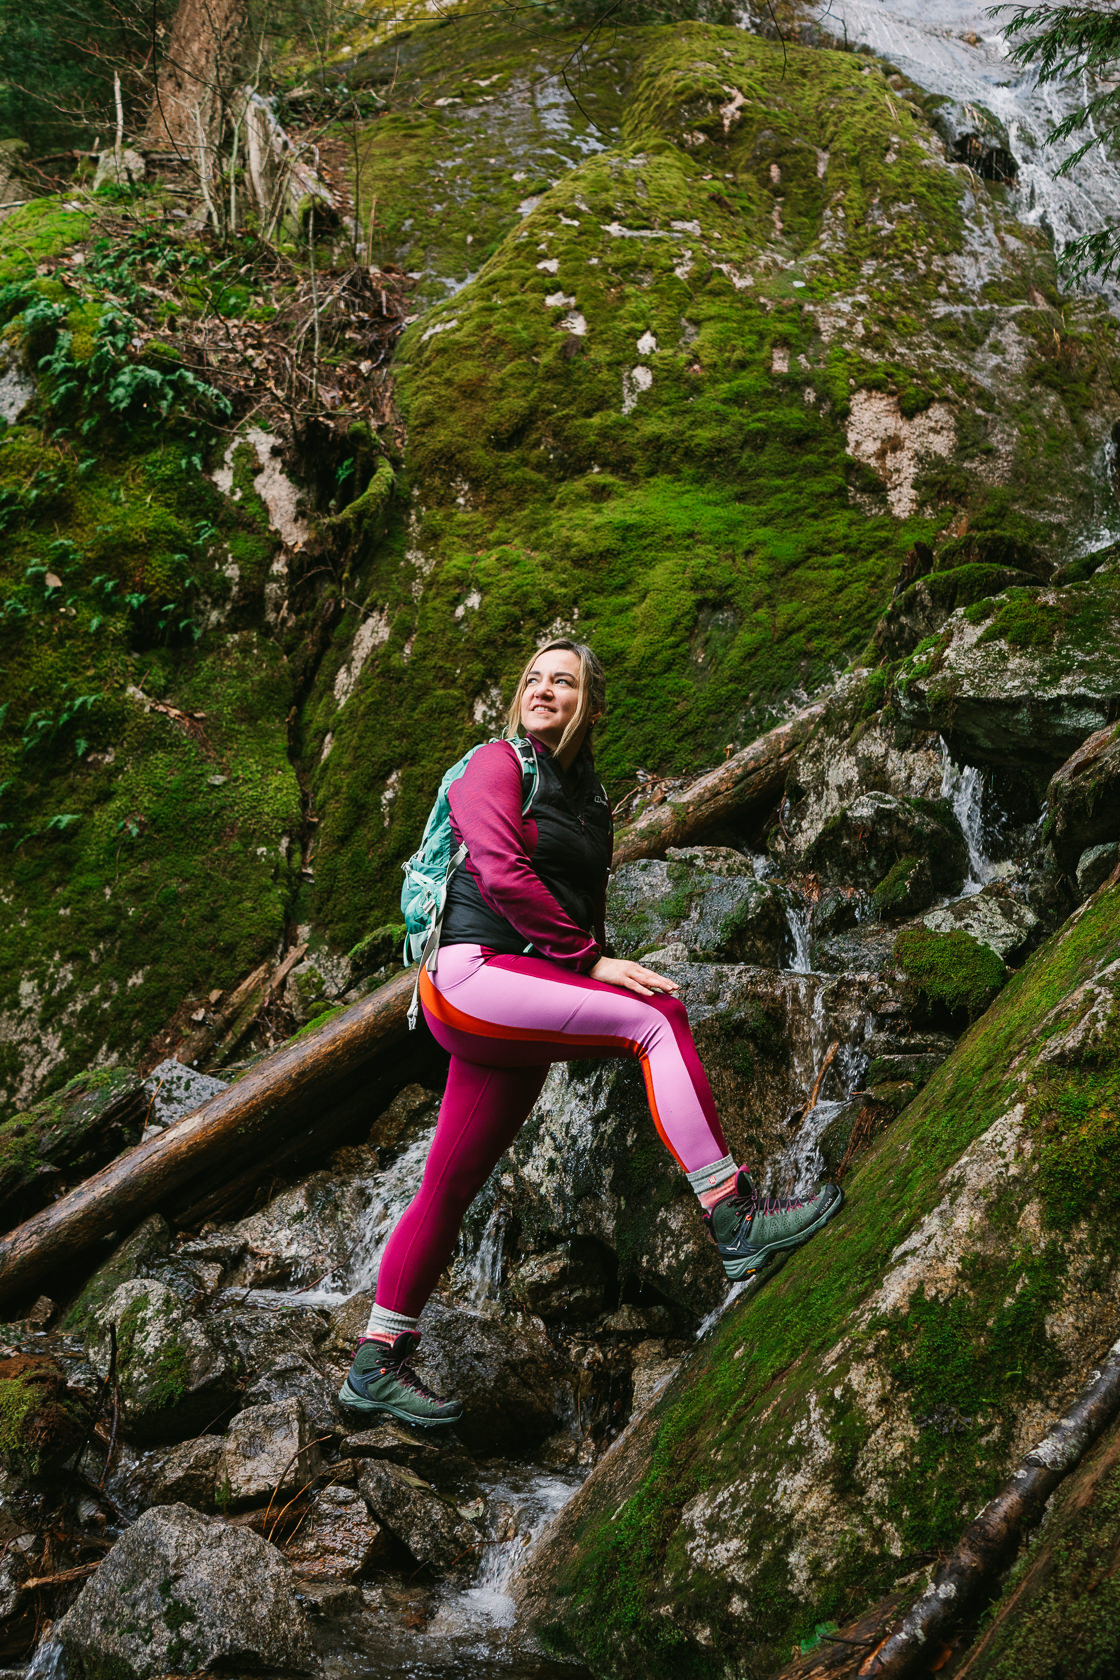
The trail is rugged and unmaintained. While it’s not a scramble, you may need to pull yourself up on roots and boulders and navigate some awkward sections. Due to the steepness, the descent can be quite challenging with many slippery sections of wet roots, loose rocks, and dirt.
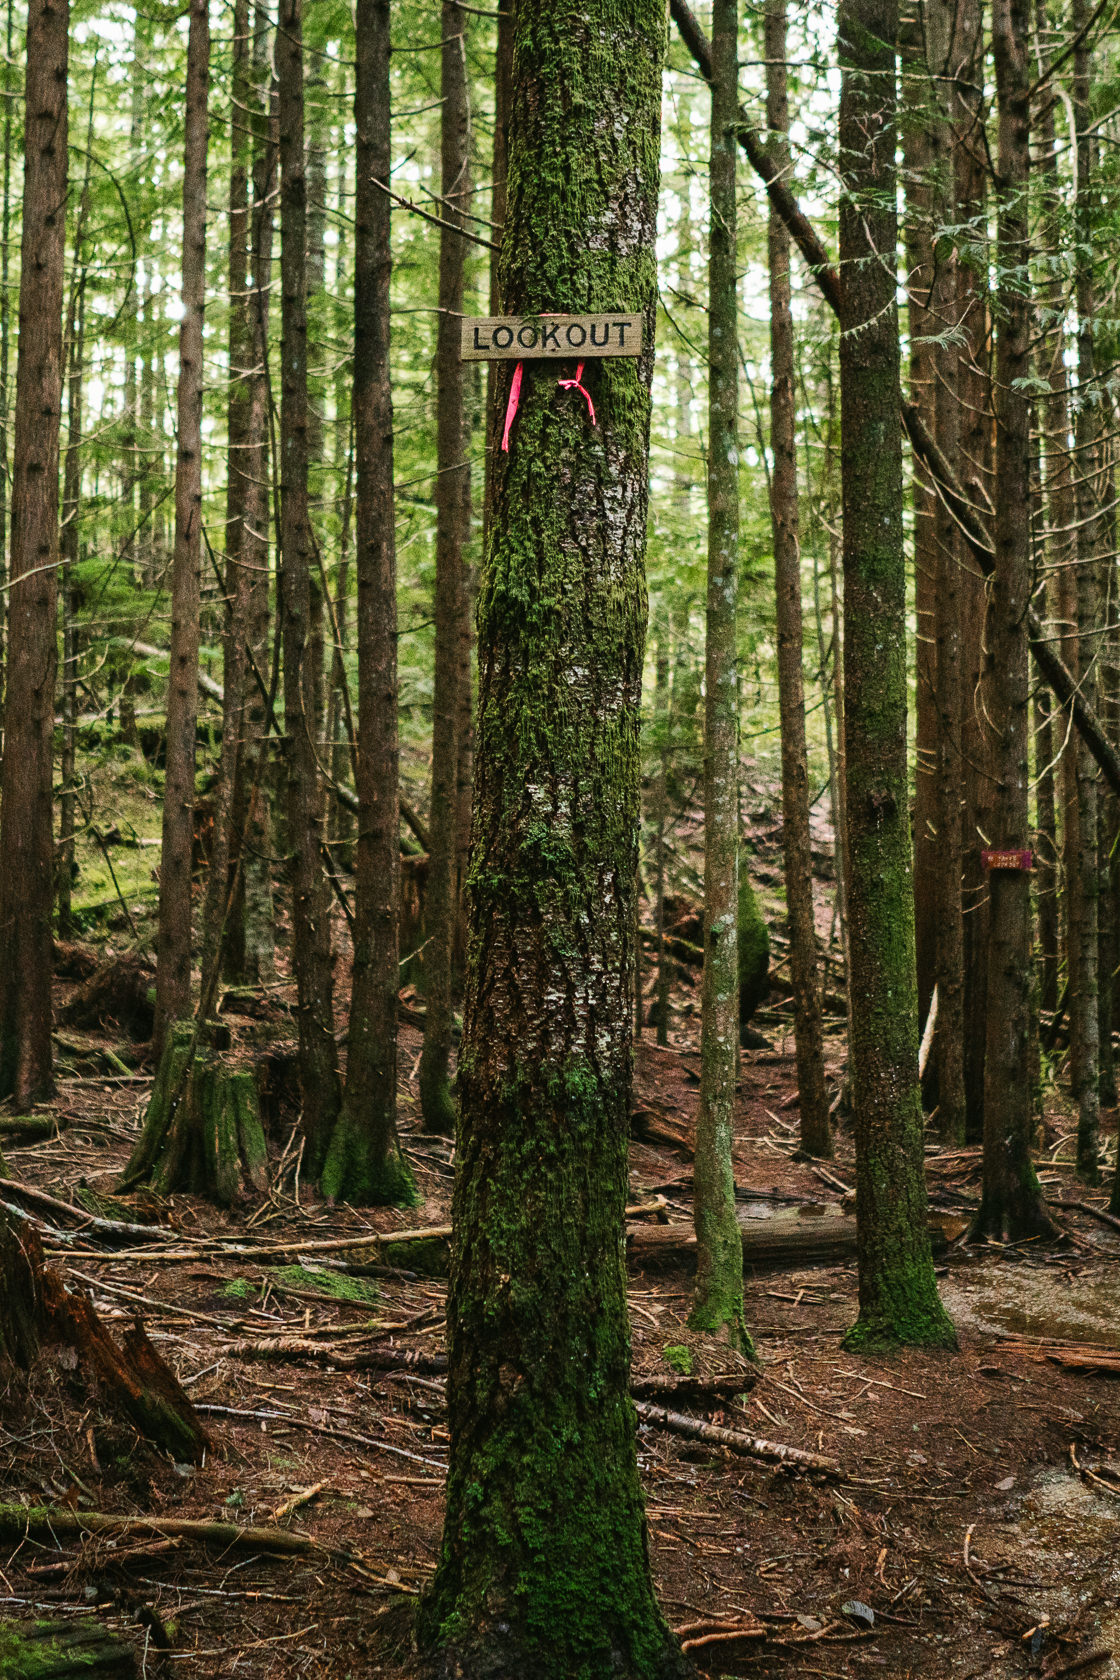
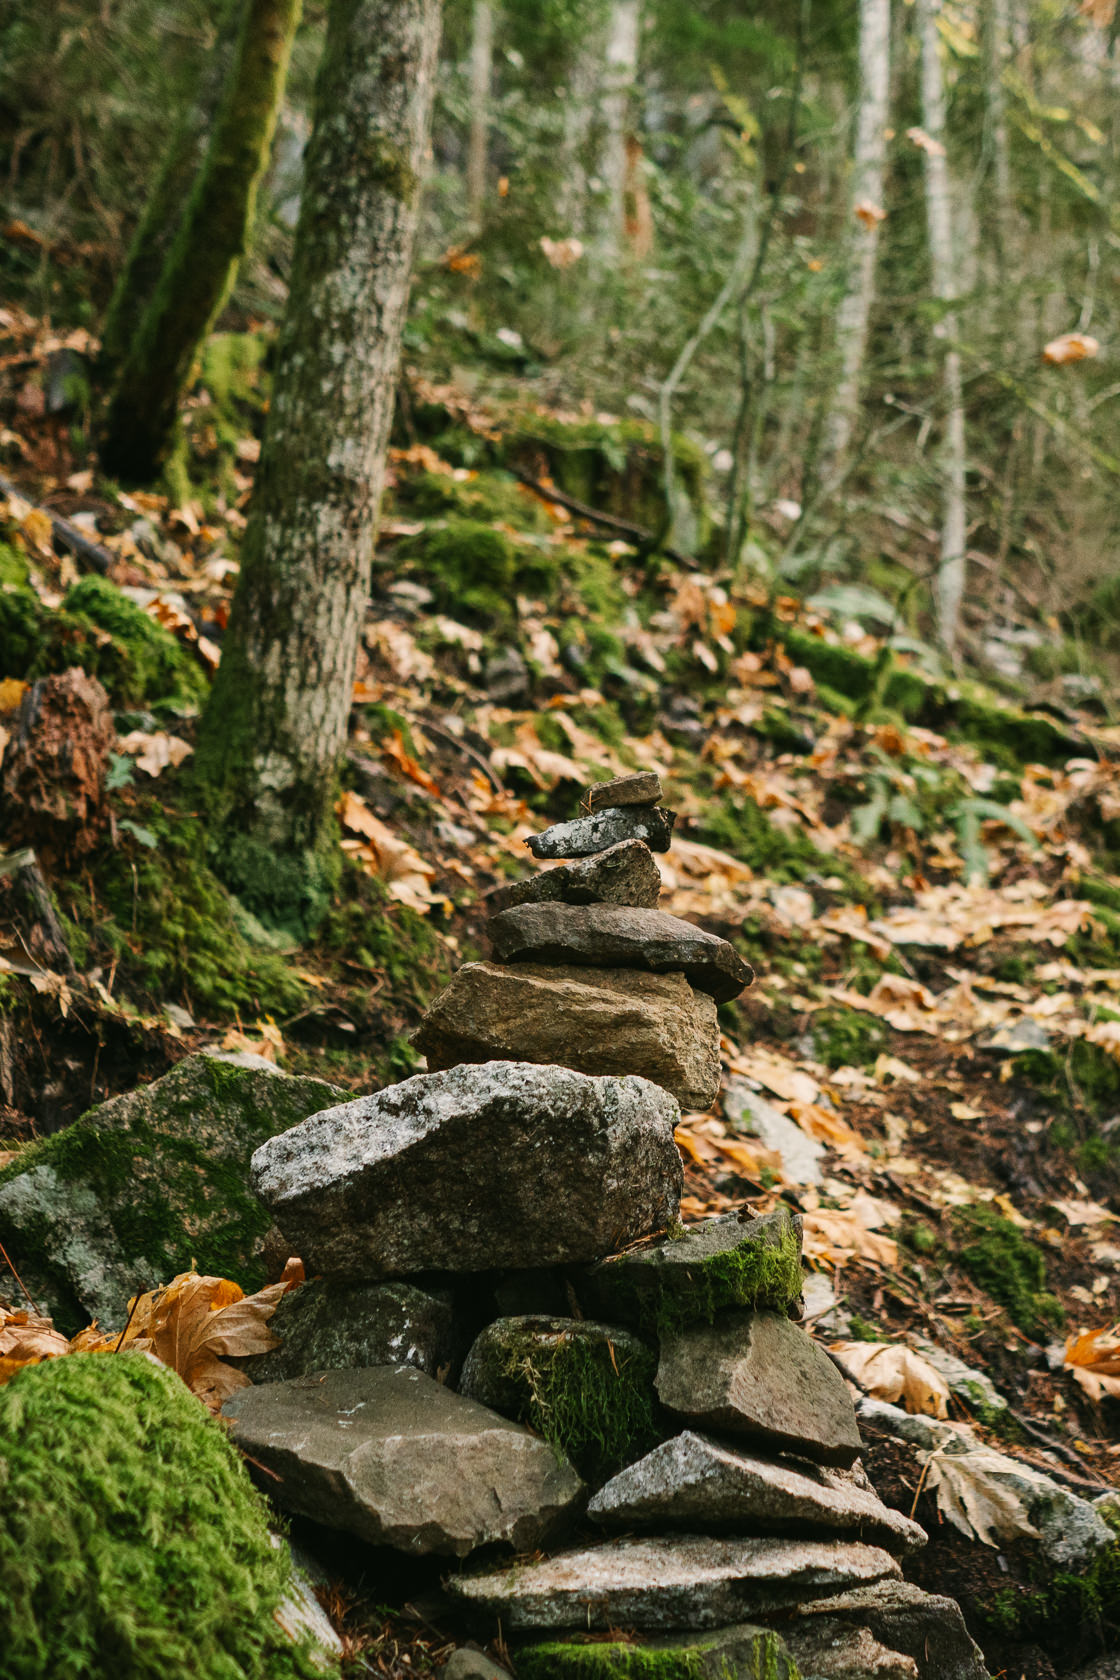
The trail is not always obvious, and what looks like the right trail often isn’t. It’s also poorly marked, with sparse trail blazers and ribbons, to the point that you cannot purely rely on them. Keep checking the offline map frequently as it’s very easy to take the wrong turn.
The most challenging part for us was finding our way back from the summit, as the route is not obvious at all. Since we reached the summit shortly after sunset, we had to hike back in the dark. If you plan to do the same, make sure your phone is fully charged (or bring a power bank) and carry a head torch. Without light and an offline map, it will be impossible to find your way back to the car park.
Where Are The Best Views on Slhanay Trail?
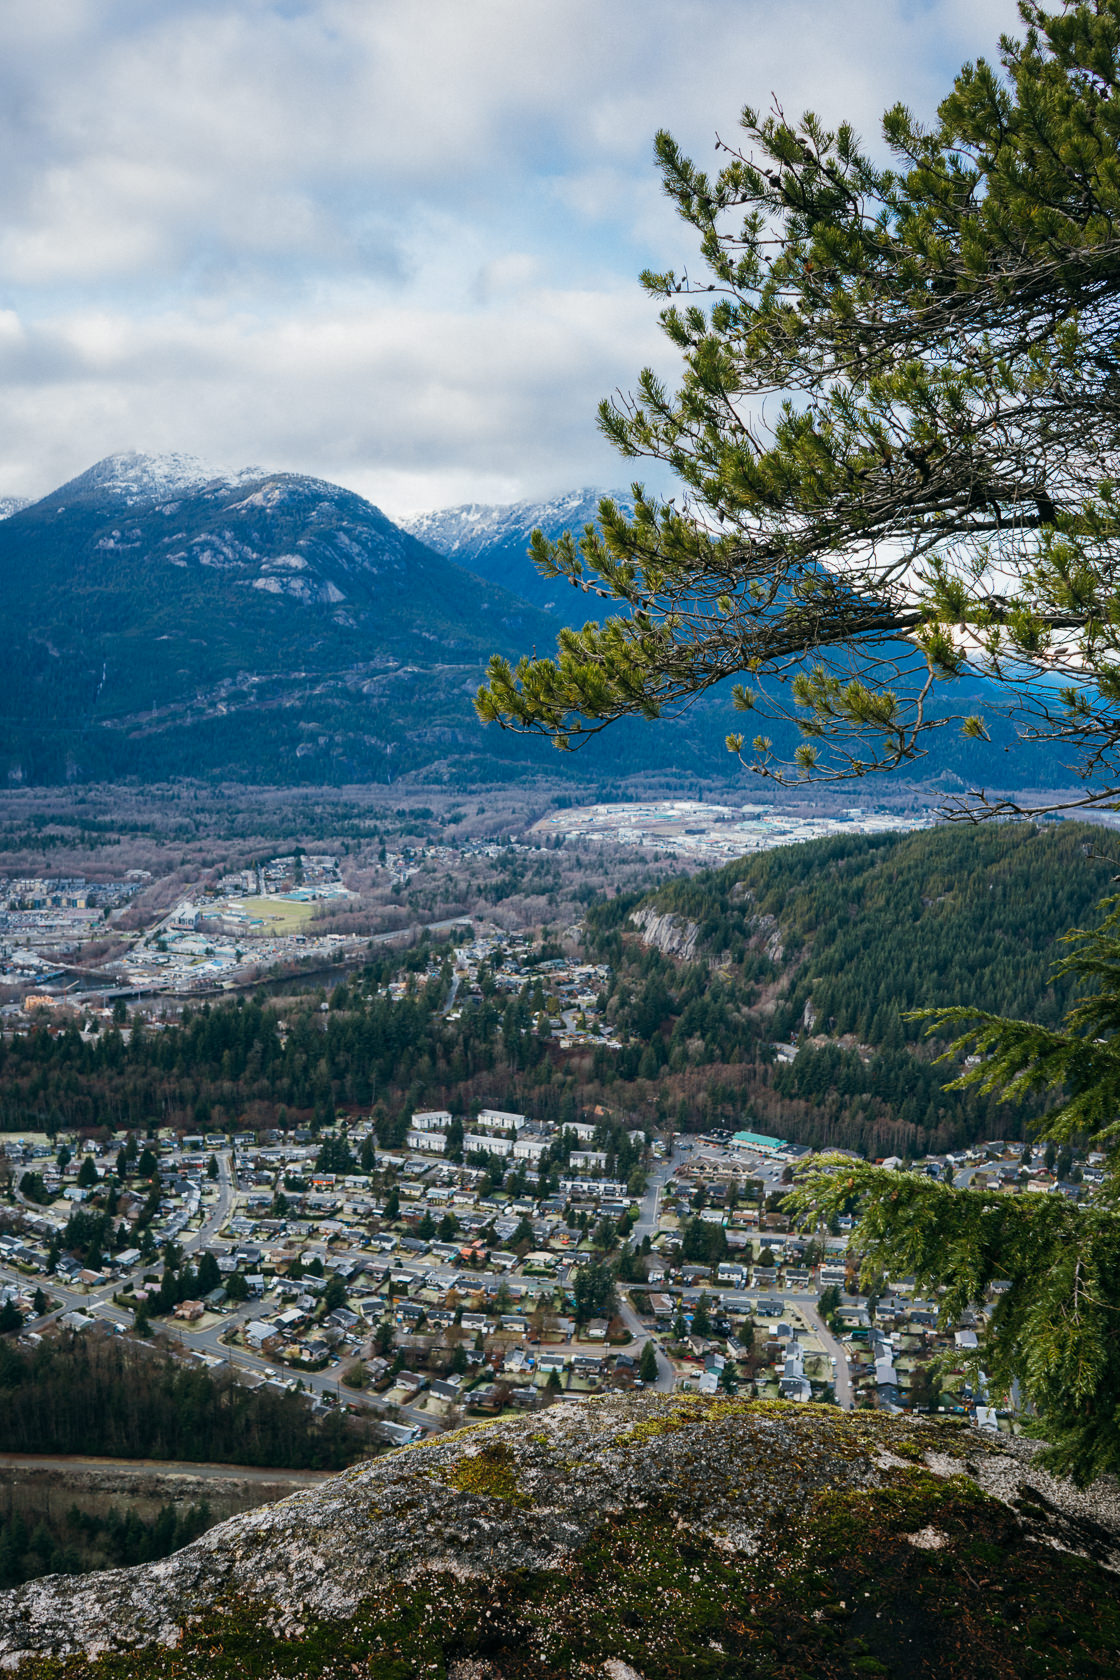
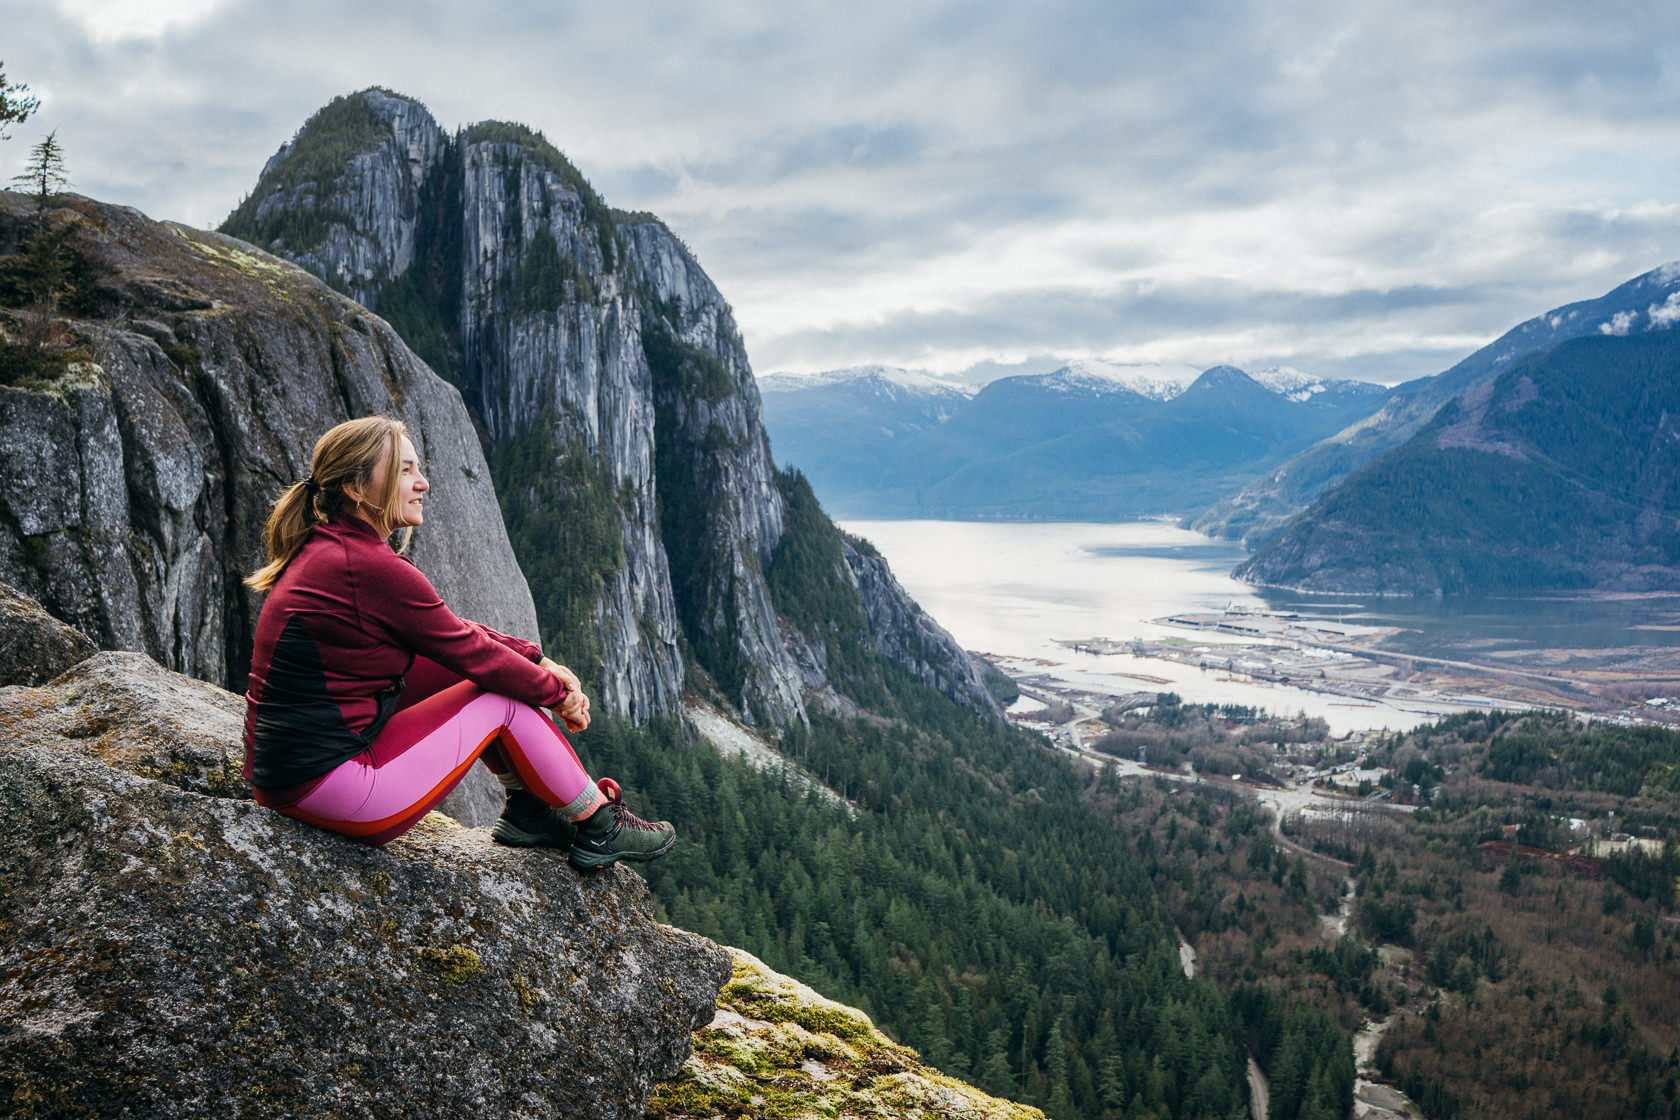
First Viewpoint Overlooking Howe Sound, Squamish and Stawamus Chief
As we already mentioned, the AllTrails map has a couple of issues. The first viewpoint, which offers an amazing panoramic view of Howe Sound, Squamish and the Chief, is not marked on the app at all. There are no viewpoint signs either so it’s easy to miss it. Once you traverse a small waterfall / stream, you should see a small cairn and a junction. There’s also a ‘Chief’ sign on one of the trees, but it’s quite high up and not that obvious. When you’re at this junction, go left to reach the first viewpoint.
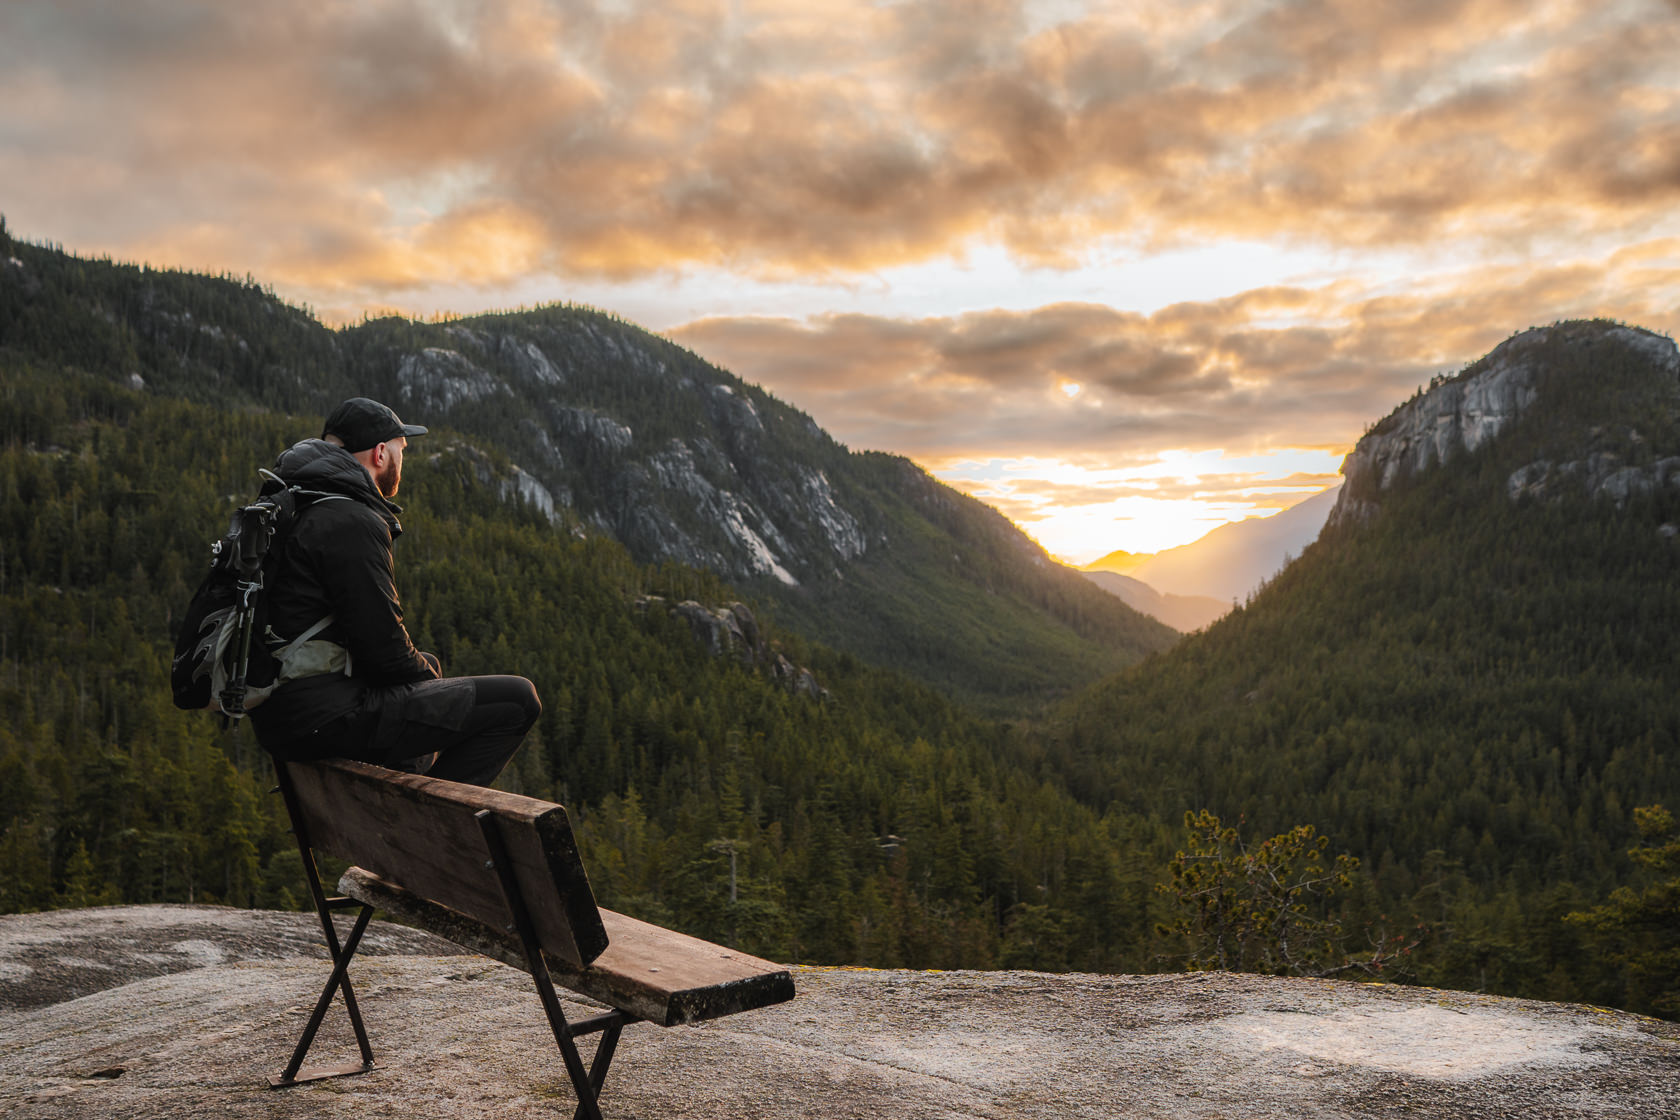
Second Viewpoint – Tony’s Lookout Overlooking Stawamus Chief
The second viewpoint, Tony’s Lookout, is marked on AllTrails but in the wrong spot. The actual viewpoint is visible on AllTrails but it’s off the trail which makes no sense. Refer to the map below to find it.
Tony’s Lookout gives you another amazing view of the Chief, but this time you’re right behind it rather than to the side. You don’t get the panoramic view of Squamish, but it’s a really nice spot with a bench that might just become your favorite bench in Squamish.
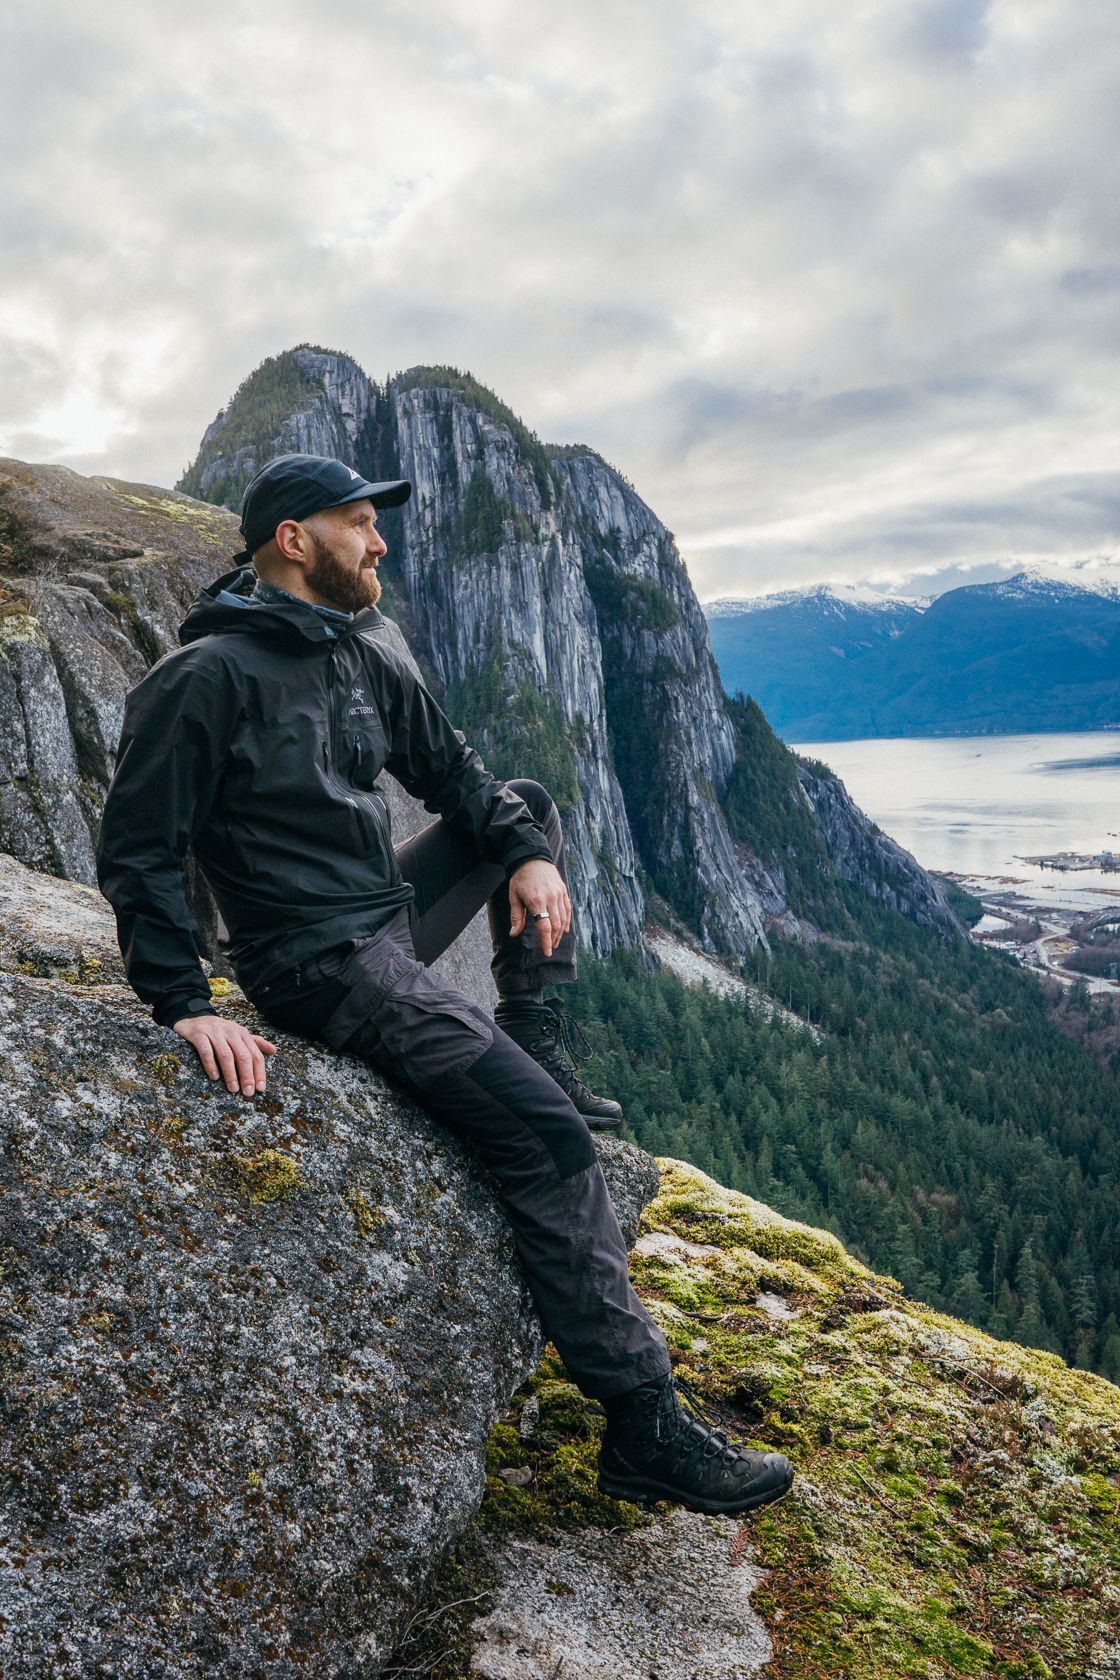
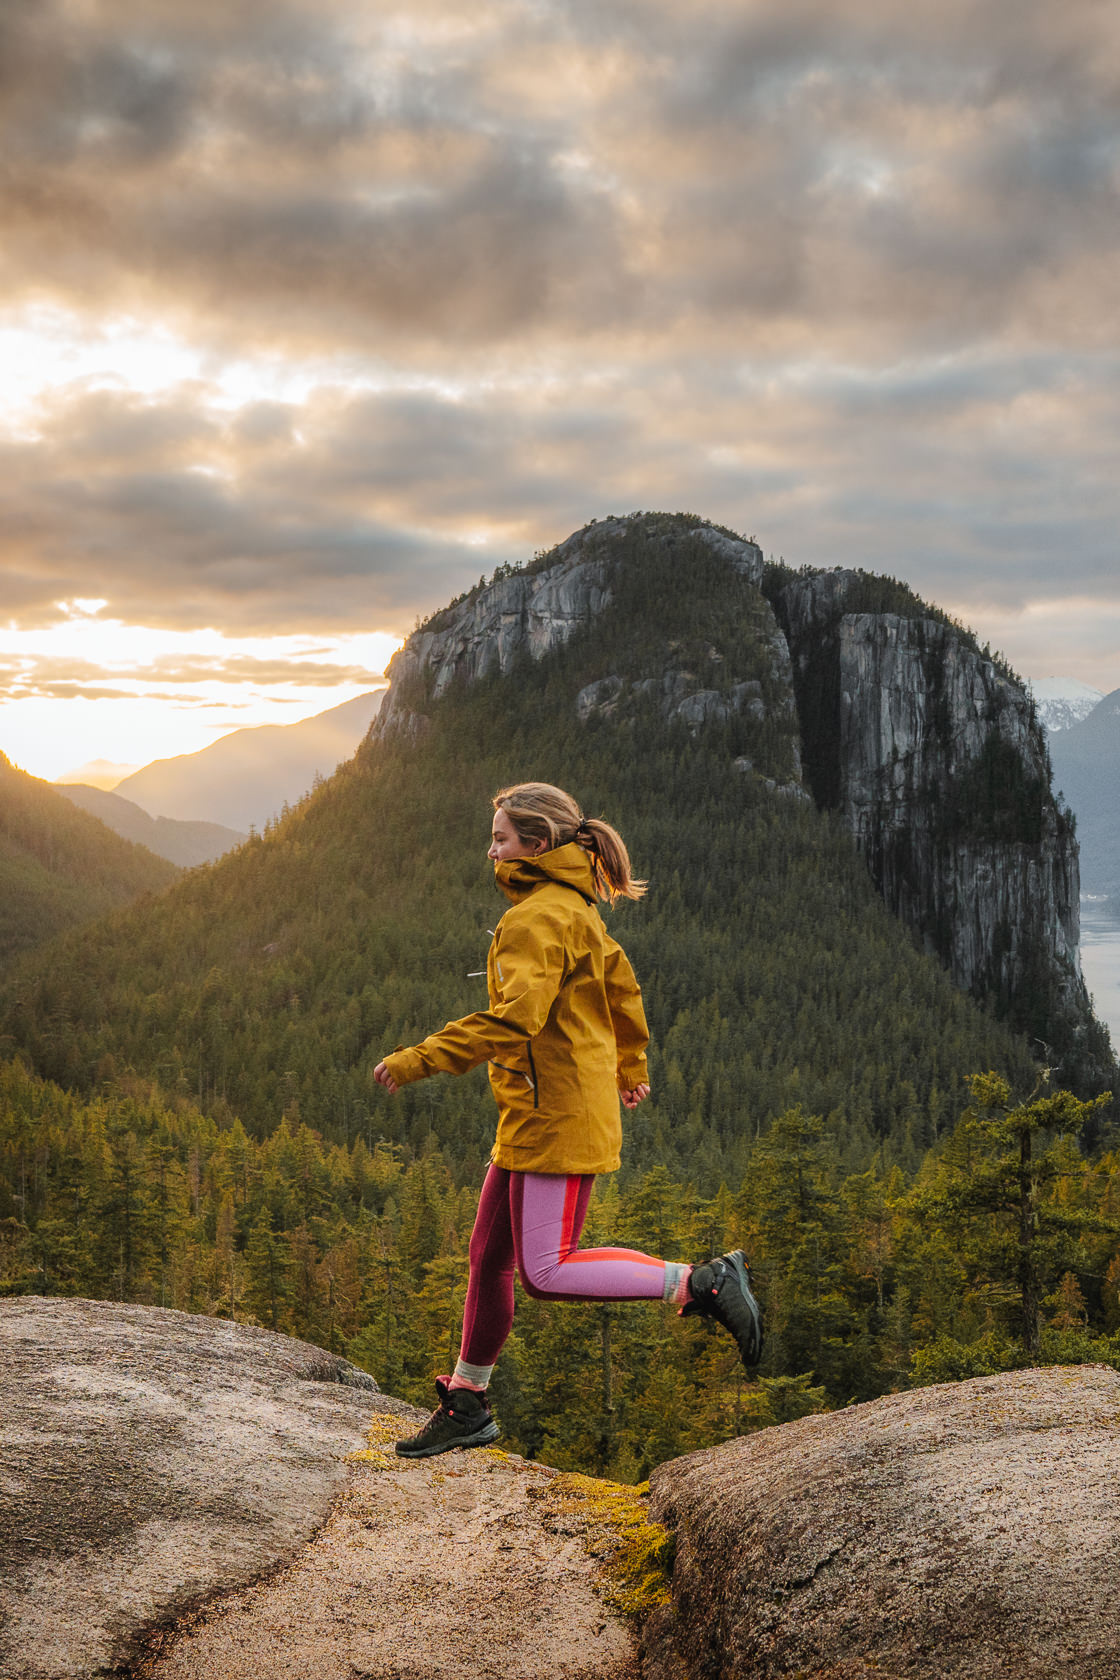
Third Viewpoint – The Summit with Views of Mt. Garibaldi/Atwell Peak
Many people skip the summit and only do the lower loop. We were tempted to do the same since we only had 30 minutes left until sunset. However, we decided to make one final push for the summit, and it was definitely the right choice as the views were stunning and very different from the other two viewpoints. We chose the shorter, steeper path instead of the longer, flatter loop. If you decide to do it too, keep an eye on the map as the trail is hard to find without it – we had the AllTrails map open the entire time.
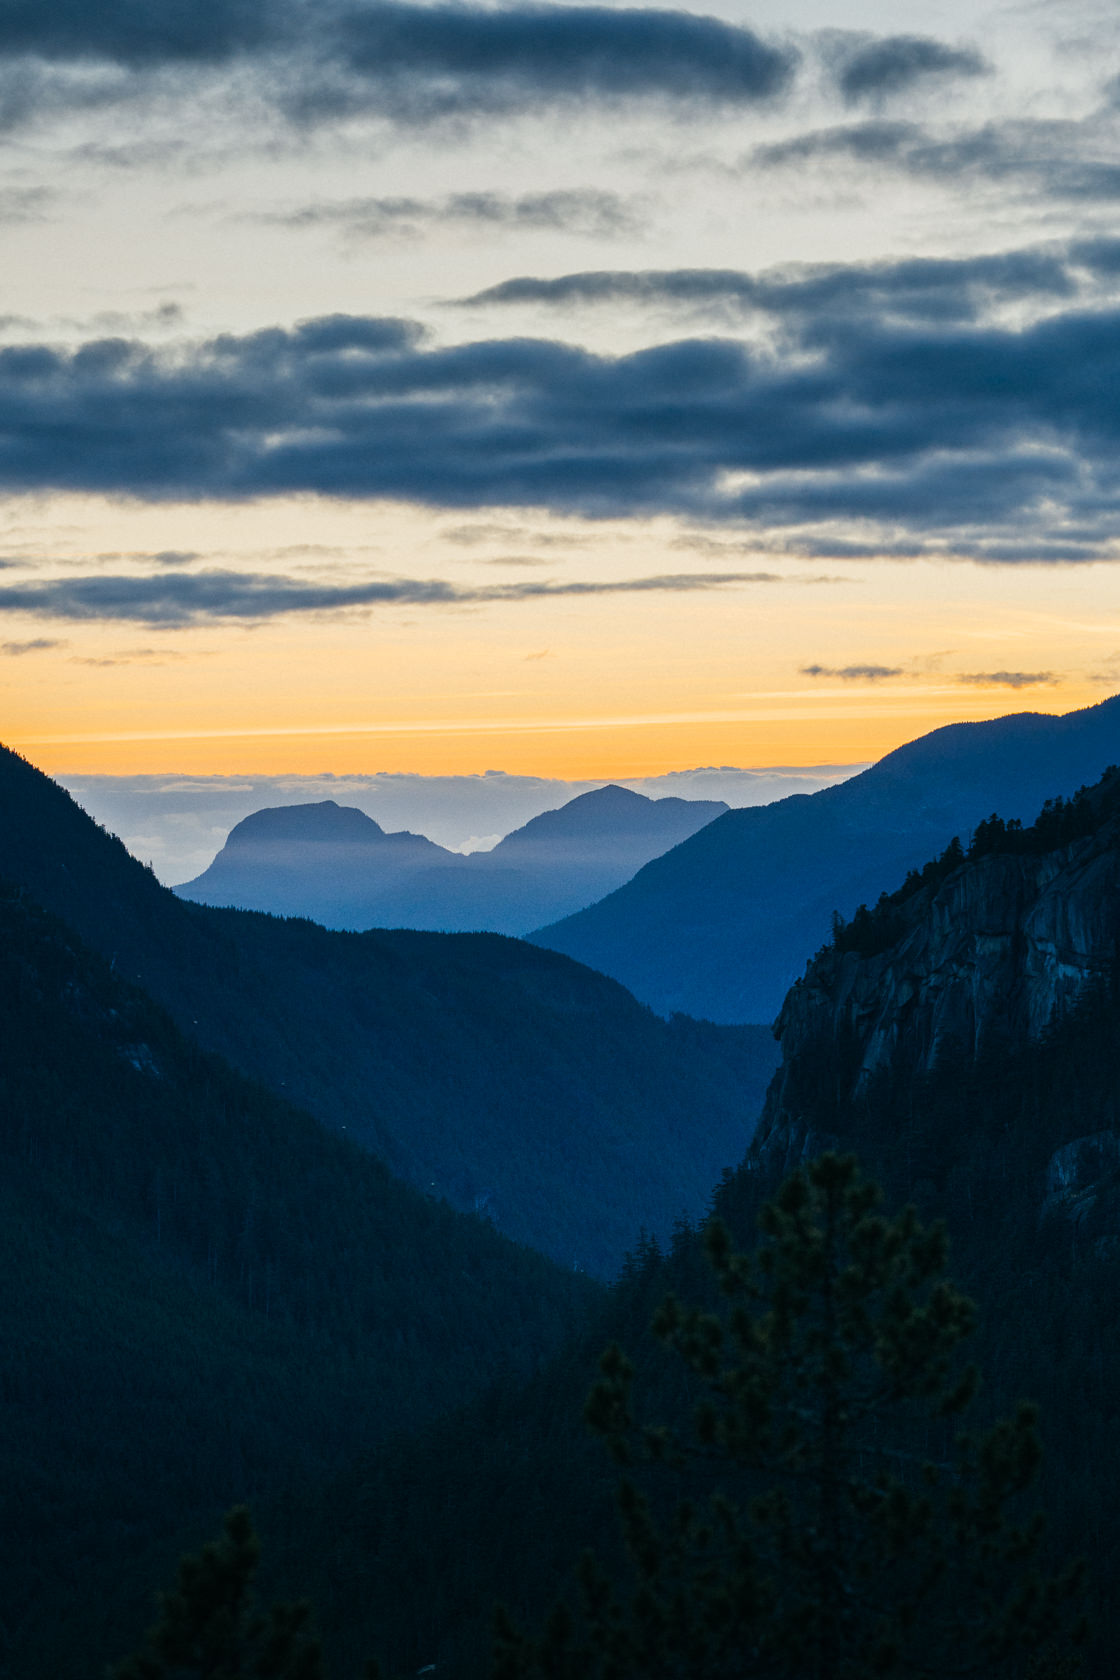
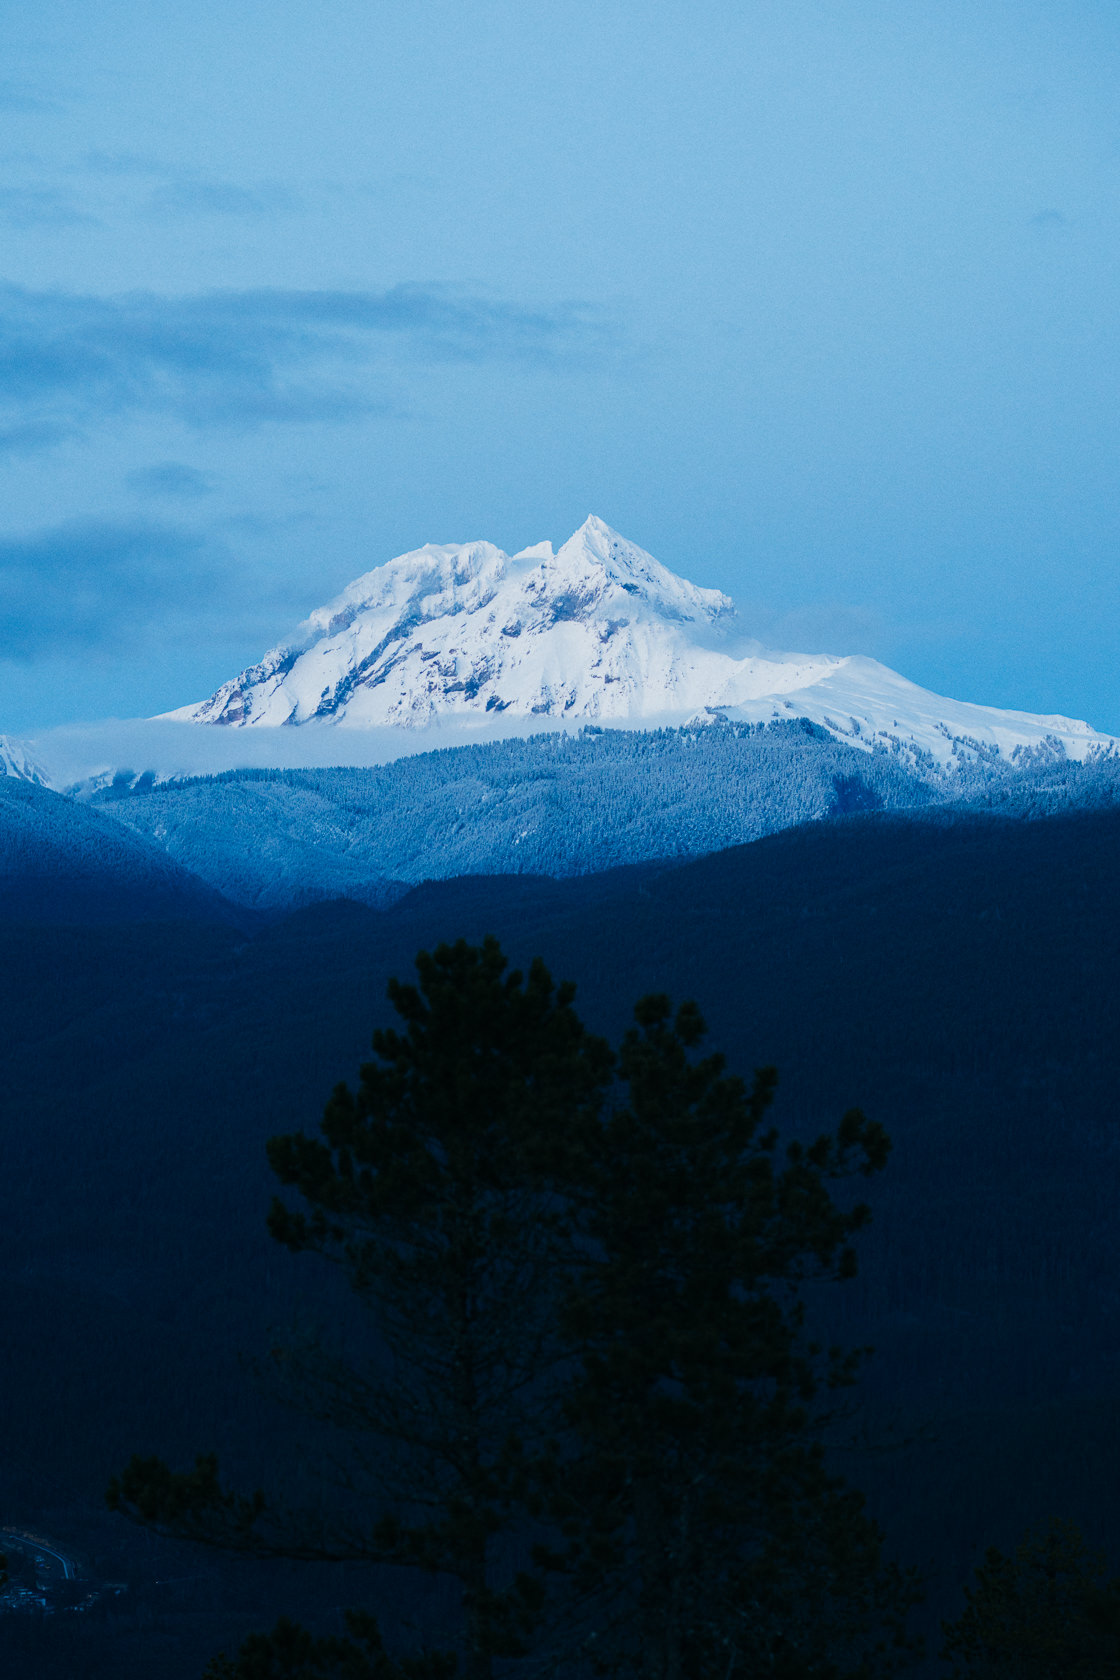
Once you reach the summit, you’ll have a view of the Chief and Squamish on one side, and the Garibaldi range on the other. The views are obstructed by the trees, but if you don’t mind and have the time and energy to come here, it’s worth the extra effort.
Will I have any of the viewpoints to myself?
That really depends on when you visit, how far you go and how lucky you get on the day. The trail isn’t as well-traveled as the Chief, so it’s relatively quiet and a lot of people only go to the first viewpoint. We did our hike on December 23 (without snow), only saw four other groups, and we had all three viewpoints to ourselves.
Tips for hiking the Slhanay Peak Trail in Squamish
Best time to hike
It’s possible to hike to Slhanay Peak year-round. However, we don’t recommend it in winter, particularly when there’s snow on the ground or when the temperature is below zero. Although all three viewpoints are at low elevation and snow doesn’t always stick, the trail can be extremely slippery, especially on the exposed areas of rock at all three viewpoints.
Difficulty
What’s challenging for one person may be easy for another, so it’s hard to put a label on hikes and rank them as Easy, Moderate or Difficult. But due to sparse trail markings and the steepness of the Slhaney Trail, we would mark it at least as Moderate.
Route finding is a necessity on this hike, especially after the first viewpoint. If you have a navigation app such as AllTrails and you know how to use it, you’ll be able to find your way. But make sure you download the map before your hike.
In terms of steepness, if you did the Chief, you will be able to hike the Slhaney Peak Trail because they both require the same stamina. There are no stairs or ropes on Slhaney, but you can expect obstacles such as big boulders, roots and rocks.
Gear and what to bring
Wear hiking boots or trail shoes with good traction and support. Bring along a backpack with water, food, a first aid kit, a trash bag, and extra clothing layers.
Bring an offline map. We recommend the AllTrails app as you can download the map of the route with one click. Don’t forget to charge your phone (an easy mistake to make).
Hiking poles may help with the knees on the way down.
As Squamish is home to black bears and other wildlife, it’s a good idea to carry bear spray and know the basics of bear behavior, so that you can respond appropriately if you find yourself in an encounter.
Facilities
There was a portable toilet in the parking lot when we visited, though it’s hard to tell if it’s a permanent feature. There are no pit toilets along the trail.
Got more questions about the Slhanay Trail hike?
Just drop them in the comments, and we’ll be glad to help!
Read about other hikes in British Columbia here.
